Written by BuyNoir
Last updated: 2021-11-01
We need to configure settings of shop regarding store front. In the configure section our shop admin panel contains with Configure, Catalog, Customers, Sales and Email. Above this panel have different activities in the configure and need to set the behavior for our store front.
Our configure shown as below,
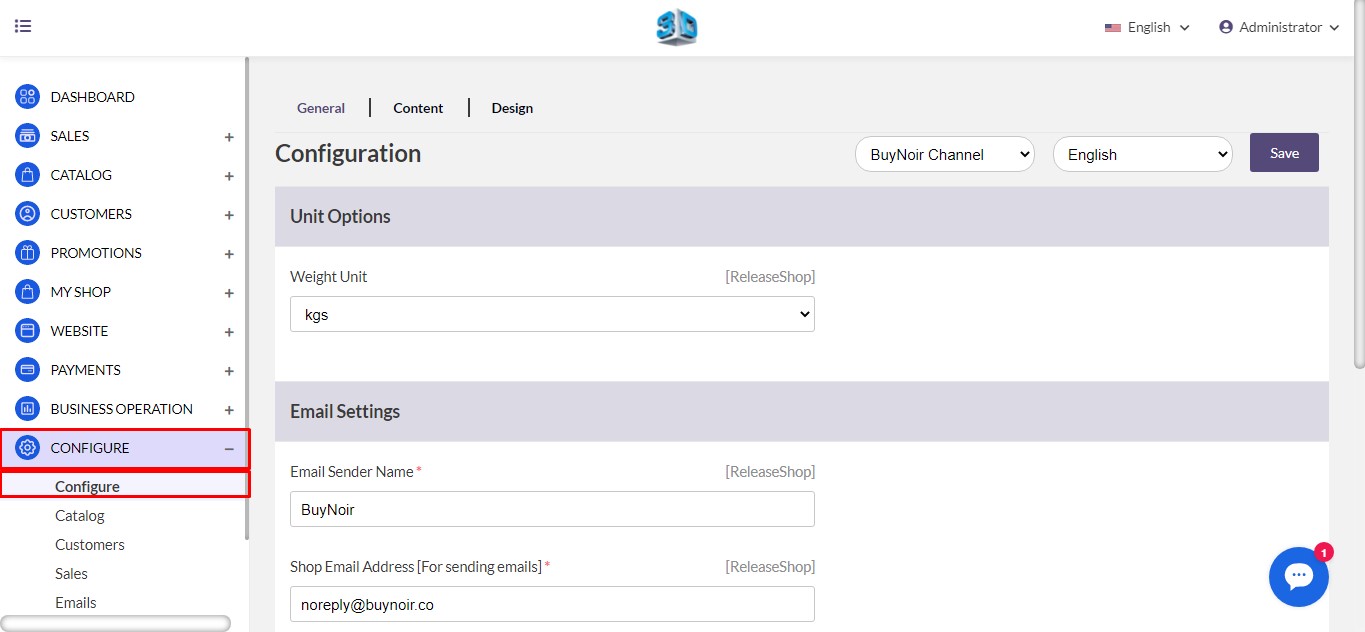
In the general configuration we have three different activities. Which are general, content and design. Here we are going to explain each of them sequentially.
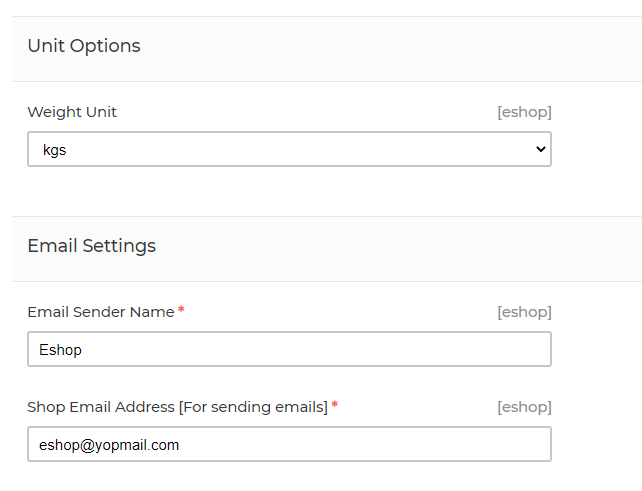
In the General Section, we have Unit Options and Email settings. In the unit options we must mention our product weight unit. Here we have both kgs and lbs.
In the Email Settings section, we are going to provide an email sender name, shop email address (which can be common email), Admin Name and Admin Email. Then click on Save. Our General section shown as below,
Note: Here we have default channel, you may have multiple channels. We need to follow same steps for multiple channels.
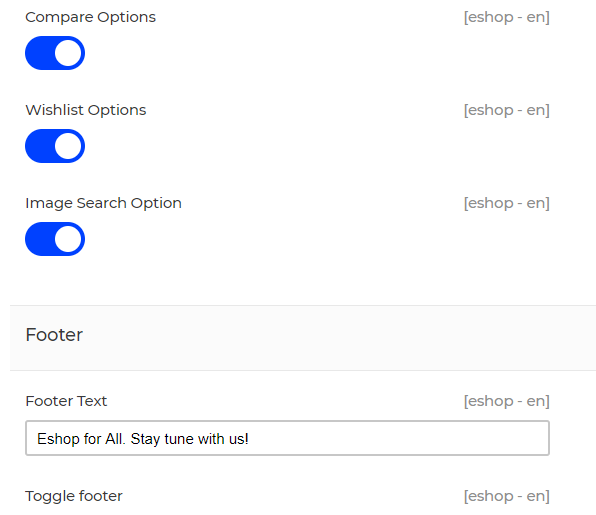
In the General section we have another activity on Content. Content section contain with settings and footer. In the settings our product will be shown in storefront comparable options, wish list options and image search option. If we want all of them, activate from the settings.
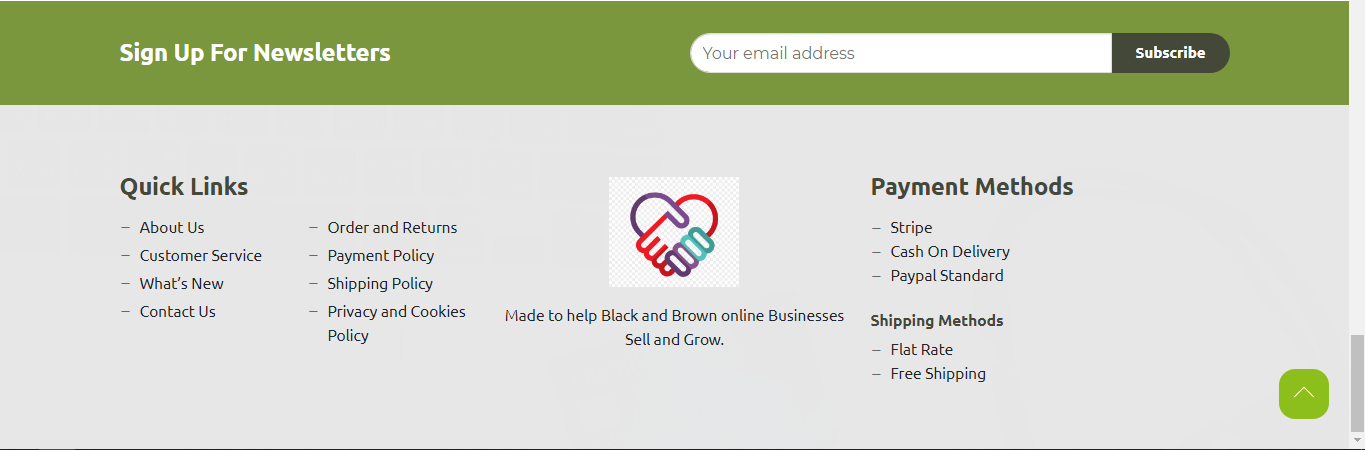
The other section is Footer, In the footer text we can have a message or any kind of text that will be appeared in our storefront.
Store Front View
To enable footer text, we need to active toggle footer.
In the General section we have one last section is Design, here we can upload our Admin logo (it can be same as our storefront logo) and favicon.
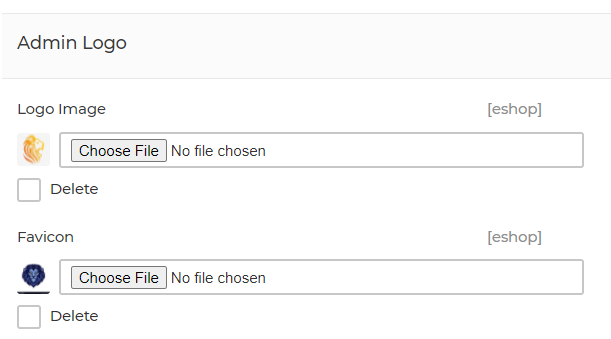
Then click on Save.
In the catalog section we have to configure stock and product behavior for our storefront. Catalog section contain with Inventory, Products and Rich Snippets.
Inventory section indicates us about stock options. If we enable the Allow backorders, it will display the product is not in stock but available in our shop. If we disable the allow backorders option if the product is not in stock, it will show out of stock.
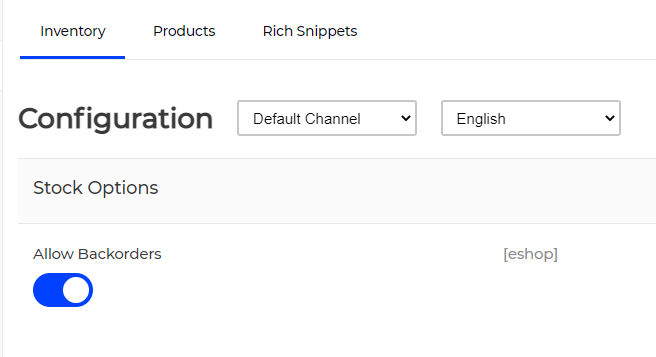
Then enable allow backorders and click on Save.
In the Catalog section contain with Products activities. Here we have different kind of activities in this section. Catalog Product section contains with Guest check out, Homepage configuration, Storefront, Review, Attribute, Social Share.
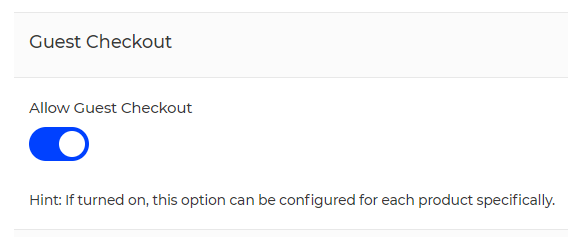
Guest checkout: If we turned it on, then anyone can get checkout without registering in our shop. It could be enable, customer should have option.
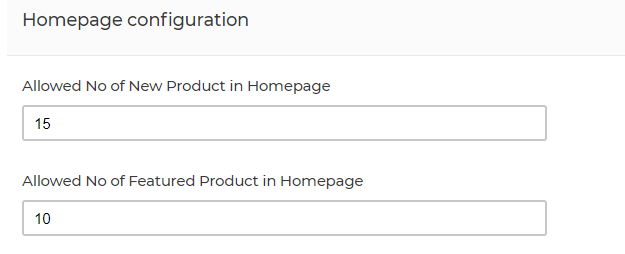
Homepage configuration: How many products we want to display in the main home page (Shop website), it could be any number. Another option for feature products.
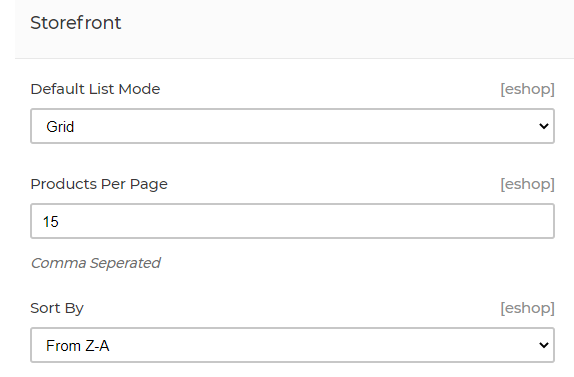
StoreFront: In the default list mode there are two options one is Grid and other is List. It means how we want display our product in the shop layout. Products per page indicate the number of products contain in a single page. Customer or consumer will get an option for sorting the products.
Review: Our customer can reach at by giving review for the products. After enable it admin can allow or deny the given review from guest customer. What we have already explain in the sale section.
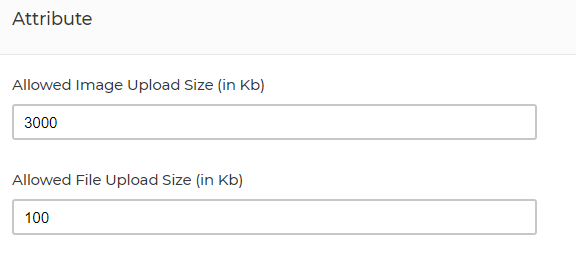
Attribute: In this section we need to configure and mention the upload image size and file size. The size mention here in Kb (1024 KB mean 1 MB size file)
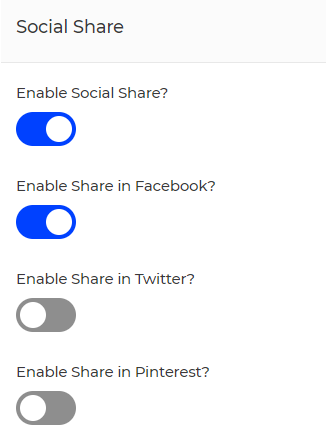
Social Share: In this section customer get the shareable option our product in the shop. Which platform we want to share this could be enable from the Social share panel. We can set also a share message while they are going to share the products.
After finishing all the set of configure, then click on Save.
Admin can set the Rich Snippets settings for the Product. Rich snippets sections have different parameters, if we want to enable all the parameters it will be available in our storefront. It depends what we want to display or not. Rich snippets have two different section Products and Categories.
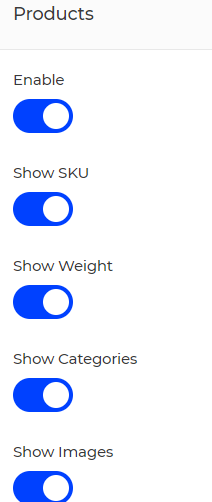
In the Products (this is for the shop website products behavior) section it contains with several kinds of parameters such as- Enable, show SKU, show weight, show categories, show images, show previews, show ratings, show offers. This means actually how our product displayed for the customer.
In the Categories section it contains with enable and show search input field.
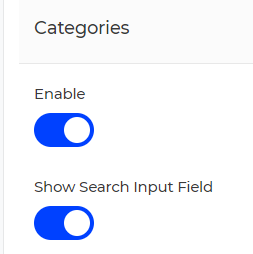
After enable all the parameter click on Save.
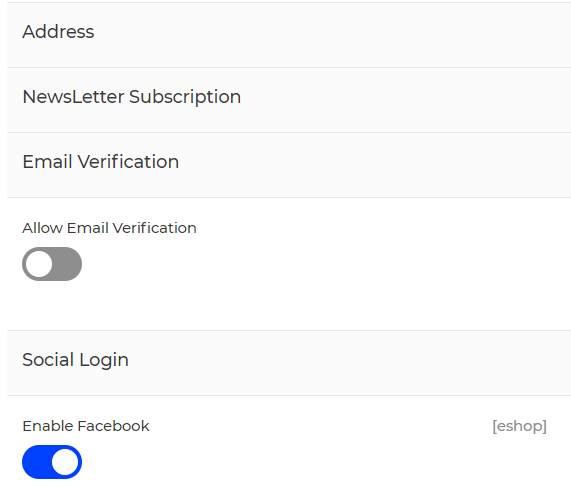
In the customer Section contains two different activities settings and social login. This section is for the customer login by different social sites, subscription, email verification.
It may contain Address Panel, Newsletter, Email verification (It needs to set accurately either disable it from this section), Social Login. Address line could be one or two-line maximum. If we enable newsletter subscription, we can stay touch who are getting update our products. User able to login by different social sites like face book, twitter, google etc. Before enable this section, we need to
set up the social login activate from the Social Login Section.
Where we can set the Social Login setting as our Customer or consumer get login the shop. We need to set all three fields to active Facebook social login. The rest of the sites could be enabled like this.
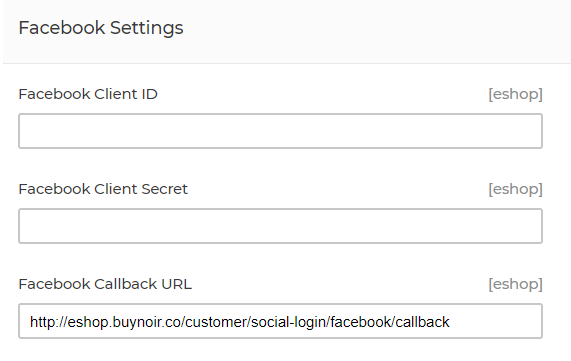
To fill up this three filed, we go to Facebook developer platform (https://developers.facebook.com/) From we create an Apps for the shop, Facebook will provide a Client ID, Client Secret token. After getting this, we need to copy and paste this into this section. Each of social platform provide us the client id and client secret token to use their social platform.
Getting all the information, enable and fill all the fields, click on Save.
Sales section contain four different activities. It may contain Shipping, Shipping Methods, Payment Methods, Order Settings. This section is very important to run a shop. We should set all the things accurately; the shop will be run relentlessly.
This section may contain show owner details.
Fill up the form then click on Save.
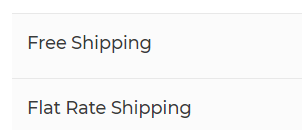
In the panel by default there are two shipping method mentioned. One is called Free shipping and other one is Flat rate shipping. When a customer checkout if they want to ship their purchase product. We need to set up all the price, mention that shipping rate would be per unit or per order (It depends on shop/products variation). If anybody want, they can add more shipping services in the shop.
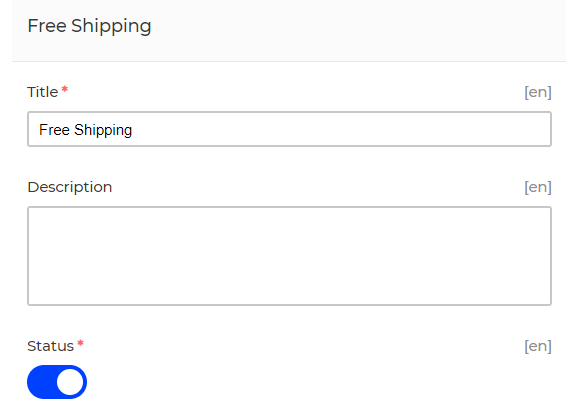
Set all the price and description, then click on Save.
To control the shop sales payment method played vital role. We should have dynamic solution for the payment. Now a day’s different kinds of payment gate way compatible for online payment. We can take payment both online and physically (Cash on Delivery).
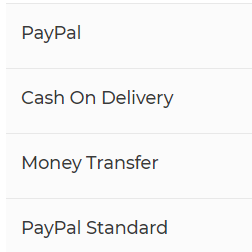
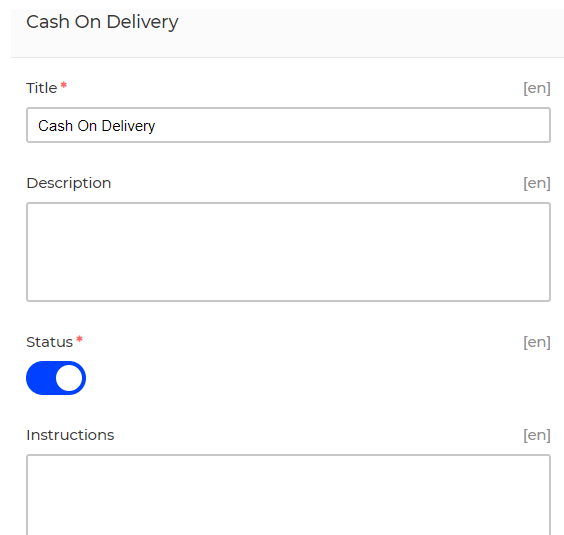
If we want to disable any payment method off, then status should be disable. In this field we enter the payment type information. Then click on Save.
If we want to add more payment gate way, we can add the compatible versions.
The last and the final section of sales configure. We already explained about order settings in the SALES maintain from the Admin panel section. Order settings contain three different parameters Order number settings, minimum order settings, invoice slip design.
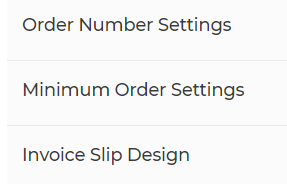
Order number settings it defines order number prefix (if we set any unique name), order number length (like 4 digit or 6 digit), order number suffix (if we add any unique name).
Minimum order amount If we define the minimum amount, when customer purchase or place an order with that amount. This should not be defined for the better customer experience.
Invoice slip design in this section we can upload our invoice slip logo. This will be better if we keep it static. Either it will be affected randomly changes the pattern.
In the email section we need to configure email activities. These activities mainly for the notifications. We can enable verification email, registration email, send customer email, admin invitation email, invoice, refund email. Email notification enable for all the section, it will be helpful to run the shop and admin.
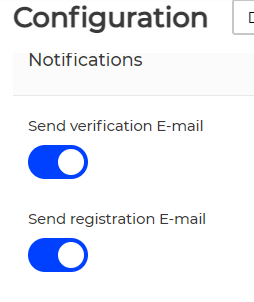
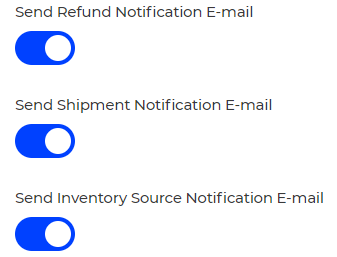
Enable all the notification configuration, then click on Save.