Written by BuyNoir
Last updated: 2021-07-05
Click on Groups >> Add Group
A screen appeared like this image:
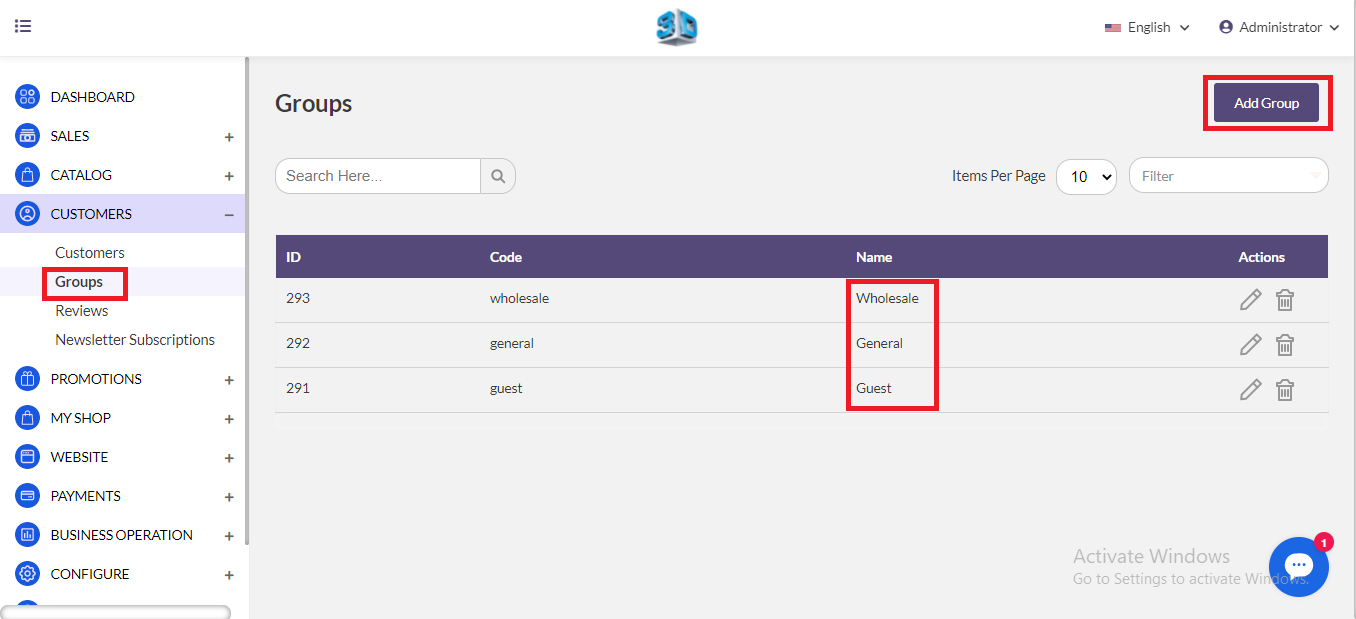
Code: Code mean to identify your customer by a unique code
Name: Your customer group name (any relevant name could be given)
The click on Save Group.
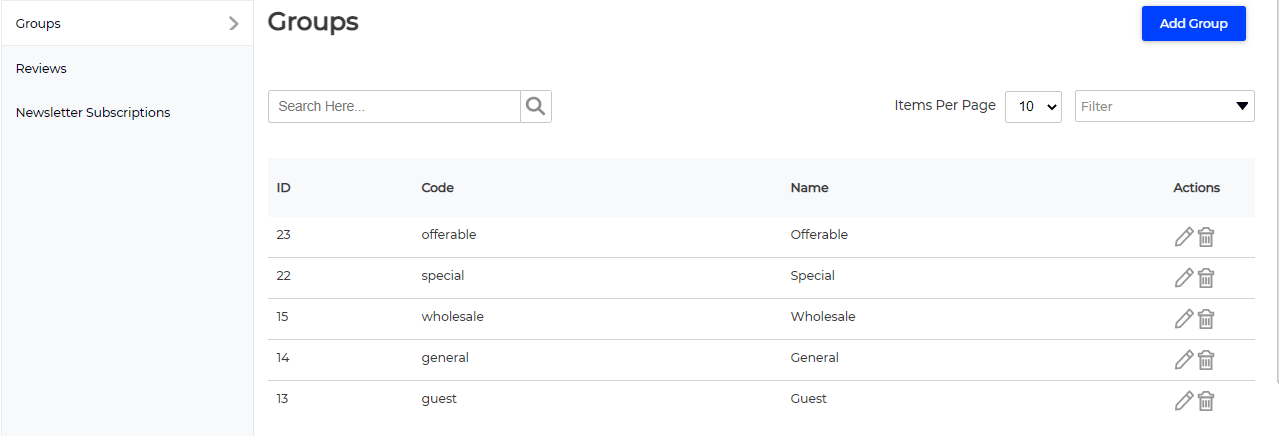
Here is our custom Customer Group list.
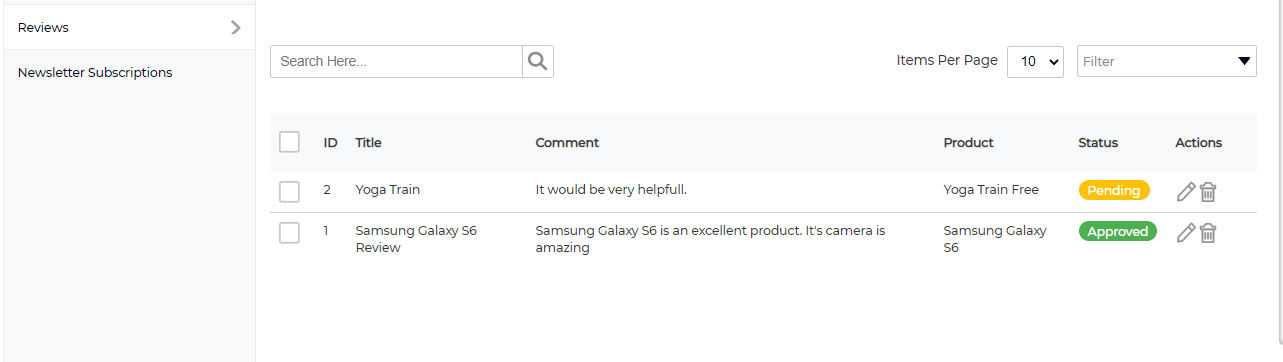
Customer may give review different products. It could be very helpful to enrich the business goal. A customer can review from the shop website, the review will be pending to Approved by Admin. If admin want to approved that will be acceptable and shown in the product shop.
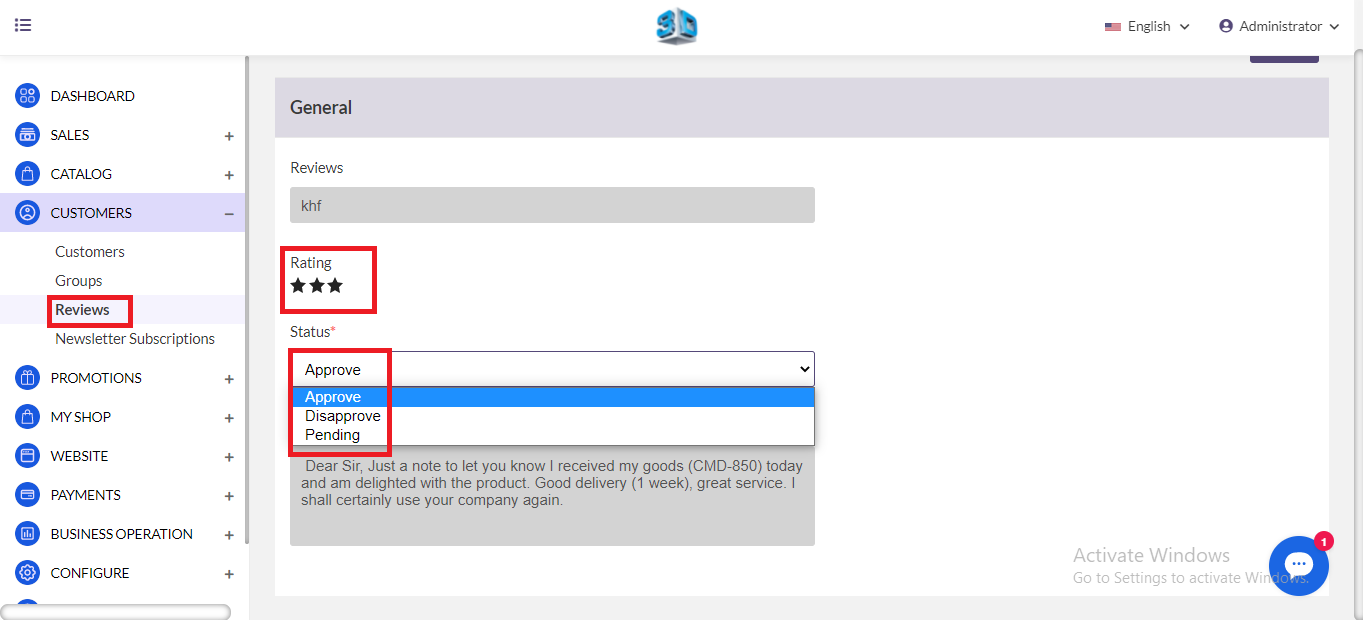
Click on the Edit Action from the panel admin set the status. Then click on Save.
Newsletter Subscription: If any customer subscribed it will be listed here. It can be helpful to notify customers upcoming products, feature products, new arrival, promotional business, offer and flash sale.
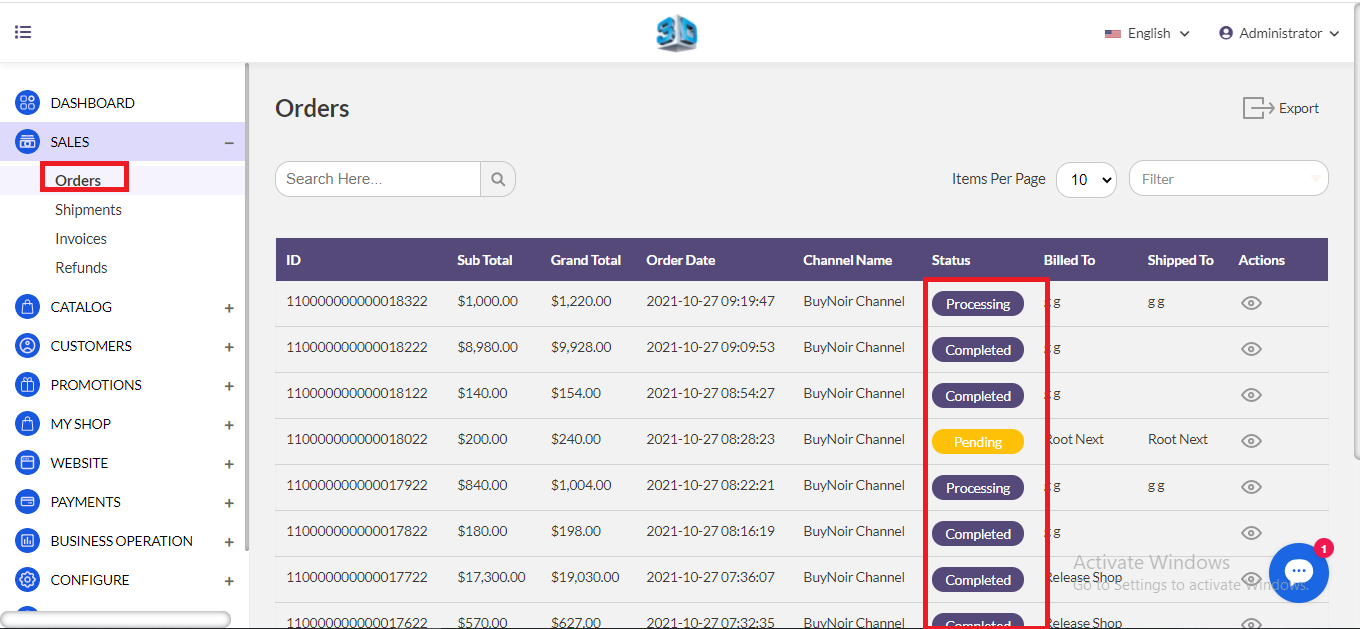
In the Sales panel we come to find four different activities such as Orders, Shipments, Invoices and Refunds. Most important part of your shop to manage your business. We need to manage these activities perfect way and continuously.
The order is created when a customer goes to your website, select some product and then place a request for it. Here we are going to discuss how to manage orders in BuyNoir.
When a customer placed an order from the front end (shop website), on the admin panel, the order status is generated from where the admin can further process the order.
Before processing orders, do the order id configuration from Configuration >> Sales >> Order setting so that order id will generate according to the order setting.
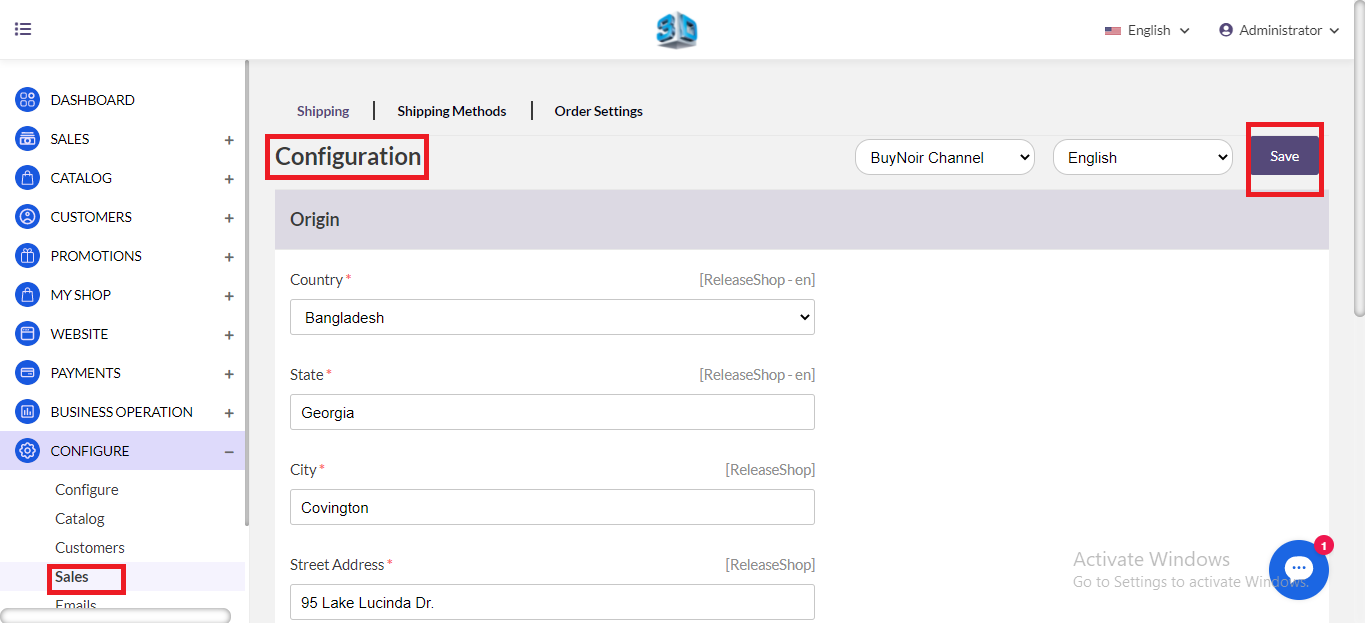
Order Number Prefix: Enter the order number prefix (anything we may add such as shop name or any unique value – like eshop).
Order Number Length: Enter the order number length (product order length an example like – eshop000001).
Order Number Suffix: Enter the order number suffix. (we may add it after order id such an example like – eshop000001web).
Order Number Generator: Generate the number what we fixed. Assume we have set an order like 2020_eshop000001web. (In this order id we have set all the parameter)
Set all the settings and click on Save.
Now click on Sales >> Orders. Open the pending order in Edit Mode then click on the Eye Icon.
On Information Page, Admin can check customer detail like name, address, quantity, etc. Admin can also cancel the order.
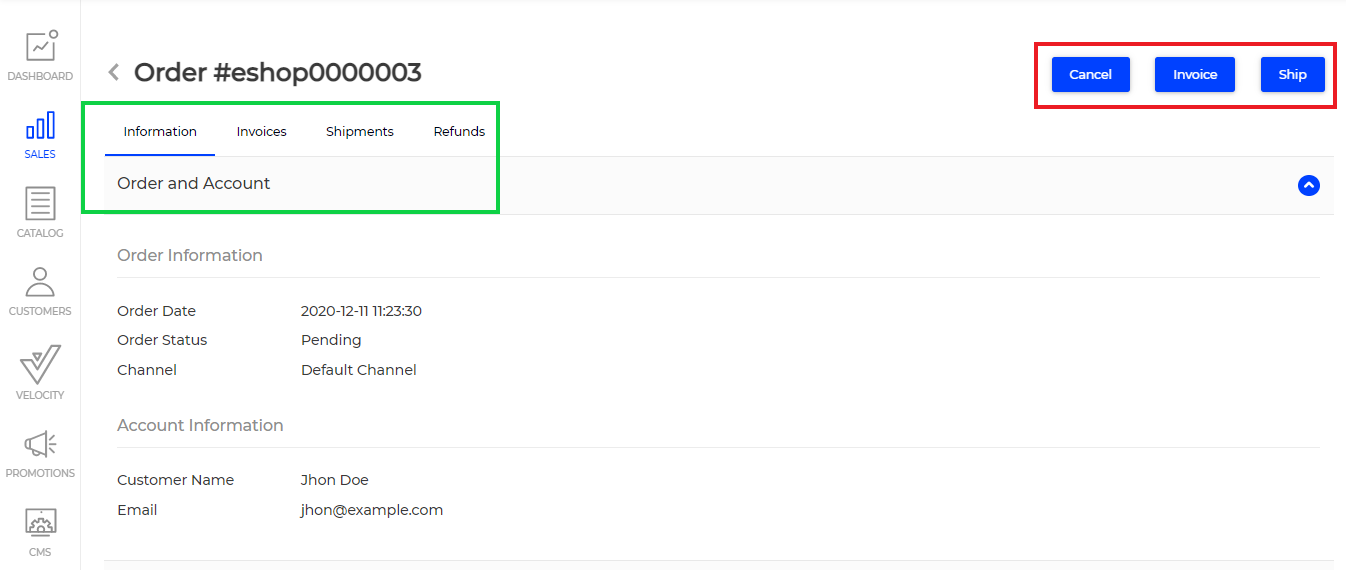
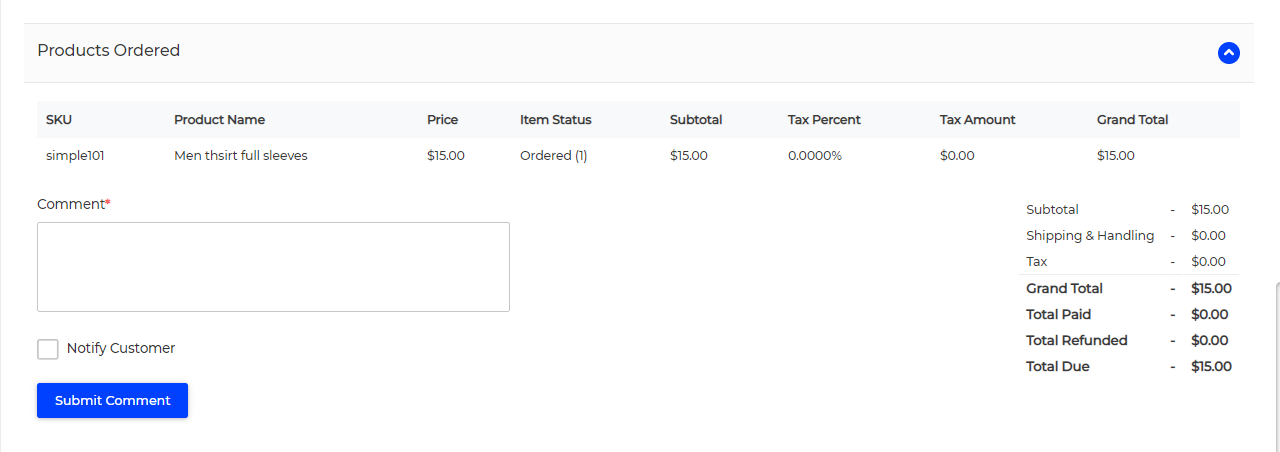
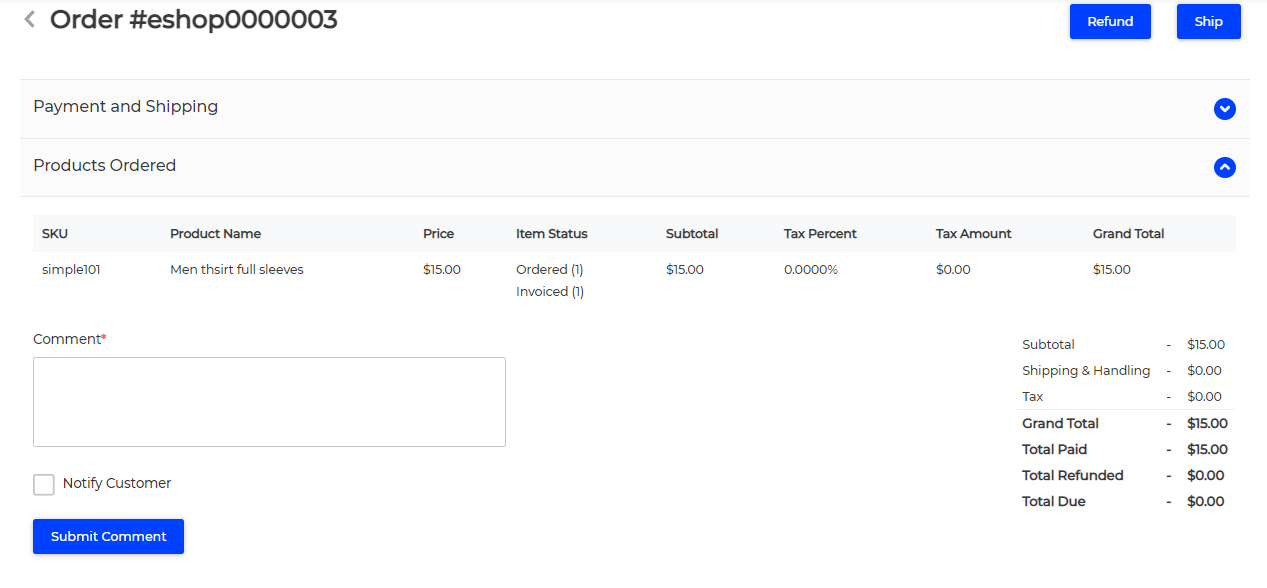
From here, you can generate the invoice for the order and confirm the customer order by clicking on the Invoice. Admin can check the detail then enter the quantity to invoice then click Save Invoice.


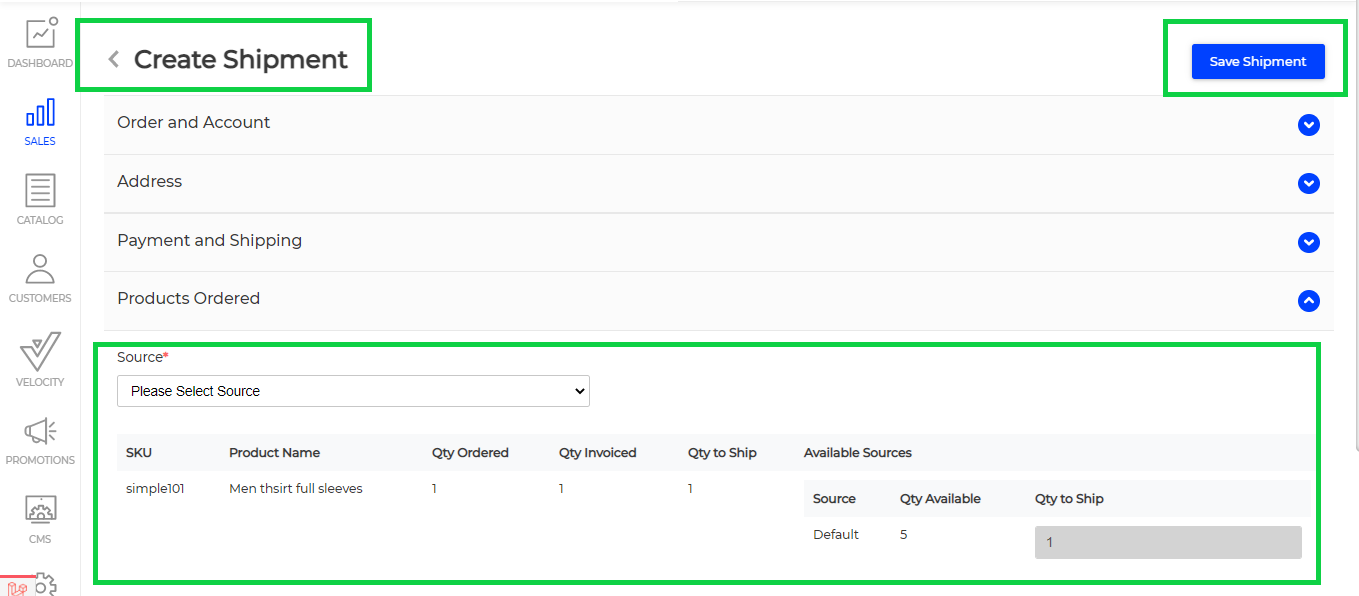
To create a shipment for that order, click on the Ship button. Enter the Carrier Title, Tracking Number and choose your Inventory Source from the drop-down list. Enter the quantity to ship then click on Save Shipment.

Now order is successfully completed which you can check in the order list
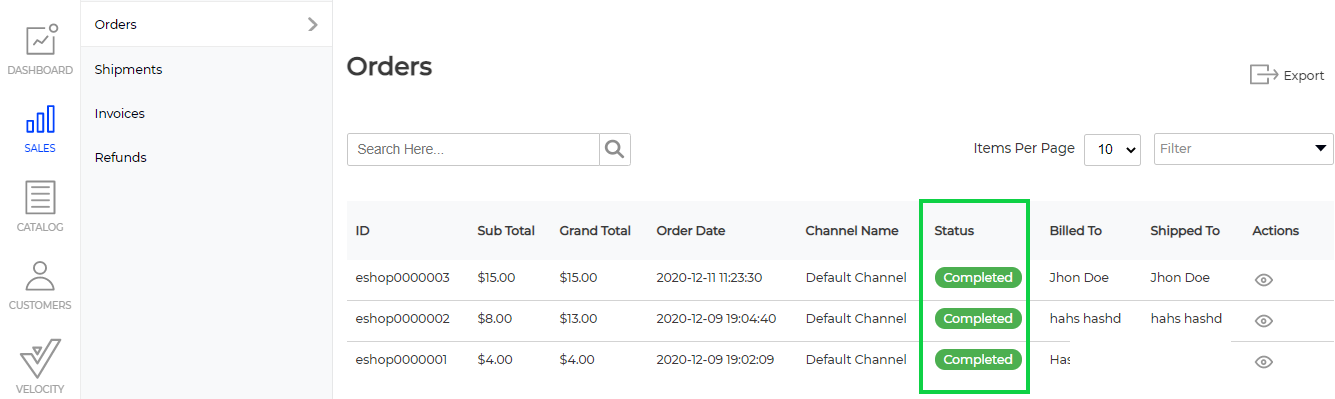
To create an order and shipment we just need to follow above steps.